 Skip to content
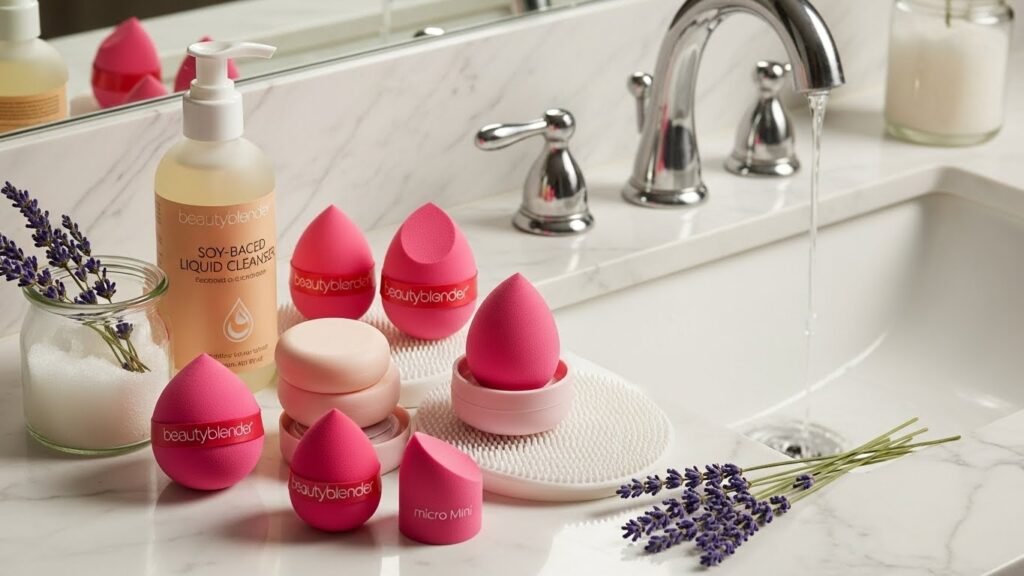
If you want a look that is totally snatched, you need a fresh sponge. Using a dirty tool is a major vibe kill for your skin. This guide teaches you how to clean beauty blender like a pro to keep your glow up real. We will cover everything from daily rinses to deep cleaning hacks that actually work.
Comprehensive Review of the Beautyblender
The Beautyblender is basically the GOAT of makeup tools. It gives you that airbrushed look that brushes just cannot touch. Even at a higher Canadian price or USD cost, it is worth the hype for Sephora lovers.
- The Science of Edgeless Design helps you reach every corner of your face without leaving any weird lines.
- Performance and Finish are top-tier because the sponge mimics the texture of real skin.
- Ideal Product Pairings include using the sponge with your favorite SPF or a moisturizer like Consonant Skincare.
- Durability and Material Fragility mean you have to be gentle so you do not rip it with your nails.
- The Dye Factor is real, especially with the Red Carpet edition which might bleed pink water at first.
- Cost-Benefit Analysis shows that while a drugstore sponge is cheap, the OG BB blends much better.
Why Regular Cleaning is Non-Negotiable
You might think skipping a wash is fine, but it is super gross. A damp sponge is a literal hotel for germs and dirt. Knowing how to clean beauty blender keeps your skin clear and your makeup looking fresh.
- The Porous Breeding Ground inside the sponge can trap old Teint Infusion foundation and dead skin.
- Impact on Product Application is huge because a full sponge will not blend your Fresh Beige foundation well.
- Skin Health and Irritation happen when you rub old bacteria onto your cheeks and forehead.
- Identifying Mold Growth is vital because black spots mean your sponge is trash and must be tossed.
Essential Tools and Cleansing Agents
To get the job done, you need the right supplies. You do not always need the fancy stuff from the store. Many items in your kitchen can help you learn how to clean beauty blender effectively.
Professional Cleaning Solutions
- Brand-Specific Liquid Cleansers are soy-based and help keep the sponge firm yet soft.
- Solid Cleansers are amazing for travel and usually come with a cute silicone scrub mat.
- Cleansing Mitts help you scrub out stubborn pigments without ruining the delicate foam.
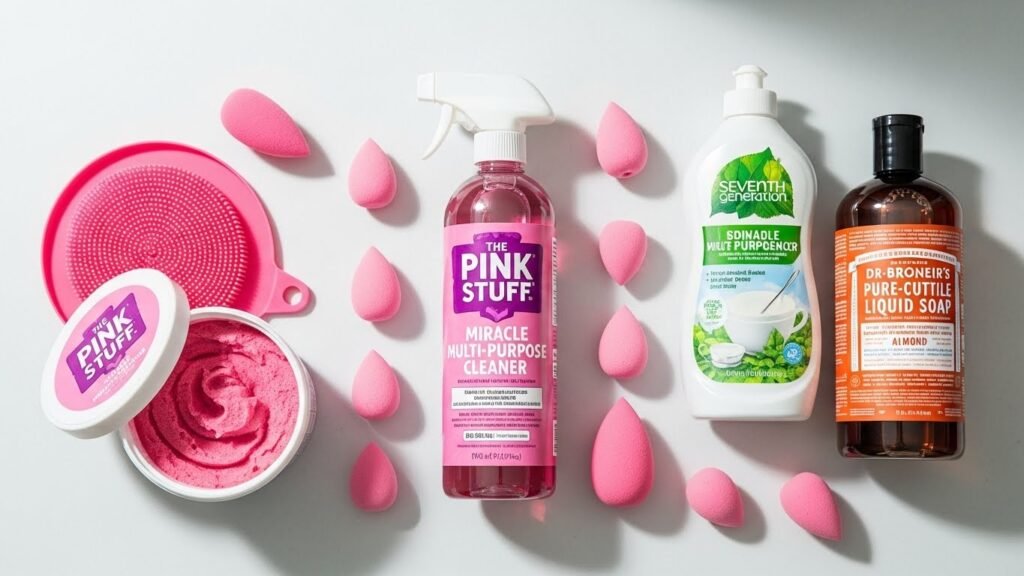
Household and Natural Alternatives
- Gentle Dish Soap like Seventh Generation Free & Clear is a total game changer for oily stains.
- Baby Shampoo is a soft choice that is safe for normal skin and dry skin types.
- Castile Soap like Dr. Bronner’s uses natural oils to lift away dirt and Revlon ColourStay foundation.
- Facial Cleanser is a smart move if you want to make sure the soap is safe for your face.
Advanced Sanitization Methods
Sometimes a basic wash is not enough to kill all the germs. You need heat to really get things germ-free. These steps ensure your Micro Mini or full-size sponge is safe for your chin and nose area.
The Boiling Water Method
- Heat Sterilization is the best way to stop pimples and cysts caused by dirty tools.
- Soaking Process involves letting the sponge sit in hot water in a small container for a few minutes.
The Microwave Method
- Submerged Sanitization works by putting the sponge in a cup of soapy water and zapping it.
- Safety Precautions are a big deal because the sponge must be fully wet so it does not melt.
The Professional Step-by-Step Deep Cleaning Process
Ready to get to work? Follow these steps to master how to clean beauty blender. Your makeup will look so much better after this.
Dampening and Pre-Treating
- Initial Saturation means getting the sponge totally wet under warm tap water until it expands.
- Pre-Treating Stains is when you put soap directly on the darkest makeup spots before scrubbing.
The Massage and Knead Technique
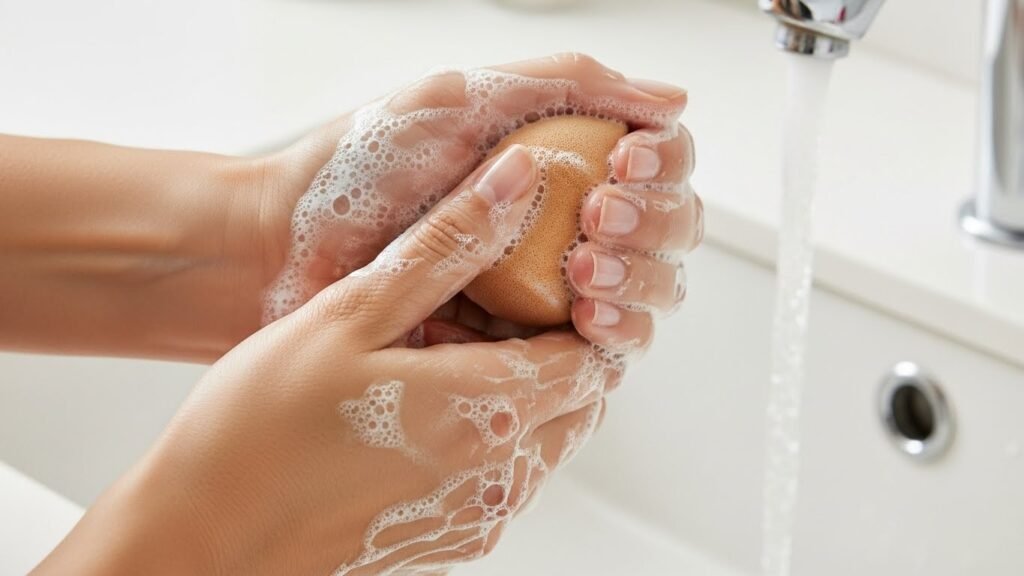
- Manual Agitation should be done with your palms to protect the tapered end of the sponge.
- The Squeezing Method helps pump the foundation and concealer out of the center.
Rinsing and Final Flush
- Running Water Technique ensures that all the lavender scent or dish soap is totally gone.
- The Squeeze Test is when you press the sponge to see if the water is clear or sudsy.
Drying, Storage, and Travel Logistics
Cleaning is only half the battle. If you do not dry it right, you will get mildew. Proper storage is key for your beauty tips and fashion tips routine.
Optimal Drying Environments
- The Airflow Principle means you should never leave a wet sponge in a dark, closed drawer.
- Microfibre Towel Roll helps squeeze out water faster than a regular cotton towel.
- The Pedestal Method uses the plastic container the sponge came in to let it sit out.
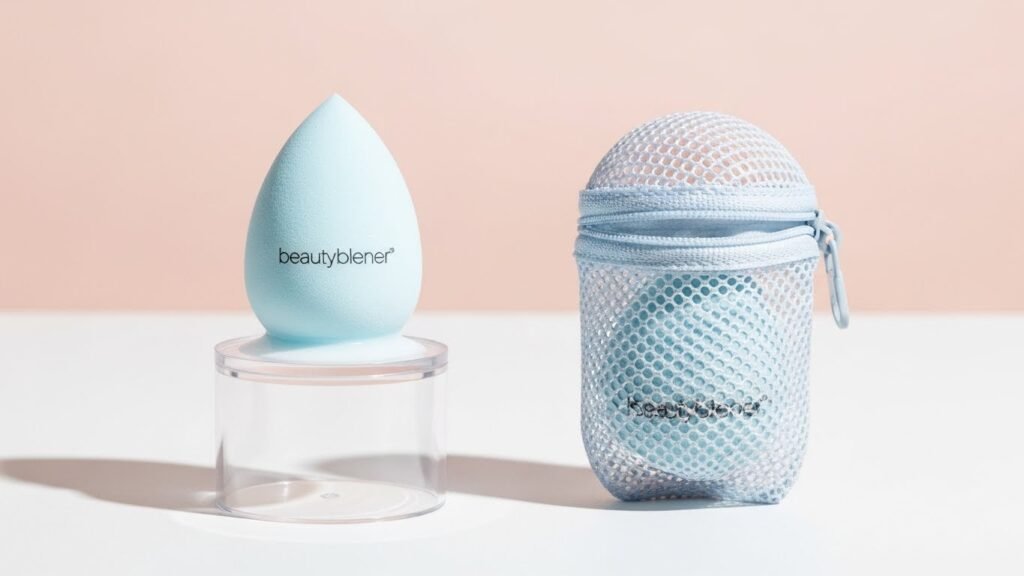
Travel and On-the-Go Storage
- Breathable Pouches allow air to move so your tool does not get gross in your bag.
- Ventilated Protective Cases are cool silicone holders that keep your sponge away from other makeup.
Troubleshooting Common Beautyblender Issues
Even pros run into trouble sometimes. Do not stress if your sponge looks a bit rough. Here is how to fix common problems.
Dealing with Stubborn Stains
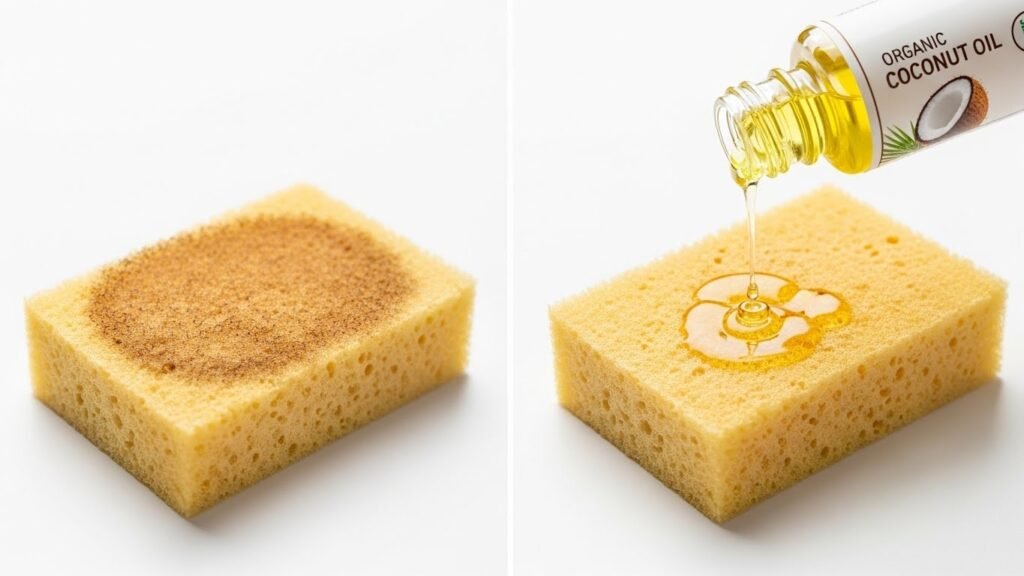
- The Double Cleanse for Tools uses organic coconut oil to break down heavy makeup before using soap.
- Overnight Soaking with baking soda and vinegar can help lift the worst stains.
Material Degradation and Tearing
- Patching vs. Replacing is a no-brainer because you cannot really fix a ripped sponge.
- Product Absorption Issues happen when the sponge gets old and starts eating all your foundation.
The Lifecycle of a Makeup Sponge
Everything has an expiration date, especially sponges. You need to know when to say goodbye. Keeping a fresh tool is part of good hygiene.
Maintenance Schedule
- Daily Rinse vs. Weekly Deep Clean depends on how much makeup you wear every day.
- The 3-Month Rule is the standard for when you should buy a new one from Sephora.
Environmental Impact and Sustainability
- Biodegradable Alternatives are great if you want to be more eco-friendly with your cosmetics.
- Repurposing Old Sponges allows you to use them for nail art instead of just throwing them out.
Expert Summary: The Secret to Longevity
Learning how to clean beauty blender is a skill every makeup fan needs. It saves you money and keeps your skin looking fire.
- Method over Product is the truth because how you scrub matters more than the price of the soap.
- Final Hygiene Checklist includes checking for smells, spots, and how well it still blends.
FAQs on How to Clean Beauty Blender
Is it safe to use olive oil to clean my sponge?
Yes, mixing olive oil with dish soap is a pro hack for breaking down heavy, waterproof foundations. The oil dissolves the makeup pigments while the soap washes the grease away.
Can I put my Beautyblender in the washing machine?
It is not recommended because the rough tumble cycle can easily tear the delicate, open-cell material. Hand washing is the safest way to ensure you do not lose chunks of the sponge.
How do I remove stubborn waterproof mascara stains from the sponge?
Apply a few drops of organic coconut oil directly to the dry stain to break down the waterproof bonds. Once the stain loosens, follow up with a warm water rinse and dish soap.
What should I do if my Beautyblender smells like mildew?
A bad smell usually means bacteria or mold is growing inside the damp pores. You should try the boiling water sanitization method immediately, but if the smell stays, you must toss it.
Can I use rubbing alcohol to sanitize my makeup sponge?
Rubbing alcohol is too harsh and can dry out the specialized foam, causing it to crumble. Stick to boiling water or a mild soy-based cleanser to kill germs without damage.
Does the color of the Beautyblender change how I should clean it?
The cleaning method stays the same, but the Red Carpet and original pink versions will bleed more dye during the first few washes. Use warm tap water rather than hot water initially to minimize dye loss.
Is it okay to use a hair dryer to speed up the drying process?
You should avoid high heat from a hair dryer as it can shrink or warp the synthetic material. Rolling it in a microfibre towel is a much safer way to remove extra moisture.
How can I clean my sponge while traveling if I forget my cleanser?
You can use the hotel bar soap or a gentle facial cleanser as a temporary fix. Just make sure to rinse it extra well so no residue stays inside the sponge.
Can I use white vinegar to deep clean my sponge?
Yes, vinegar is a great natural sanitizer that helps kill germs and remove odors. Soak the sponge in a mix of water and vinegar for a few minutes before rinsing with soap.
Should I clean the Beautyblender case as well?
Absolutely, because a dirty case will just transfer germs back onto your clean tool. Wash the plastic or silicone container with warm soapy water every time you deep clean your sponge.
Does baking soda help with deep cleaning?
Baking soda is excellent for lifting deep stains and neutralizing odors. You can create a paste with water or add it to your soaking container for extra cleaning power.
How often should I replace my Beautyblender if I only use it once a week?
Even with light use, you should replace it every 3 to 4 months. The material breaks down over time, and bacteria can still build up during storage.
What happens if I use a dirty sponge on active acne?
Using a dirty sponge can spread bacteria to other parts of your face, leading to more cysts or pimples. It can also irritate existing breakouts and slow down the healing process.
Can I use a silicone scrubber for my Micro Mini sponges?
Yes, a textured silicone mat helps get into the small crevices of the Micro Mini. Be very gentle so you do not puncture the tiny tapered end with the scrubbers.
Is it better to clean the sponge when it is dry or wet?
It is best to dampen the sponge first so it expands. This prevents the cleanser from getting trapped in the core without breaking down the makeup.
How do I know if my sponge has reached its “expiration date”?
Look for permanent stains that won’t come out, a loss of firmness, or visible tears. If it no longer bounces back to its original shape, it is time for a new one.
Can I use a bar of soap instead of liquid soap?
Yes, many people find that bar soap is actually better at “grabbing” the foundation out of the sponge. Just rub the damp sponge directly against the bar to create a lather.
Is cold water effective for cleaning makeup sponges?
Warm water is much better for melting the oils and waxes found in foundations like Revlon ColourStay. Cold water may not fully break down the product buildup.
Does the “solid” Blendercleanser last longer than the liquid version?
Generally, the solid version lasts longer because you use less product per wash. It is also less messy for travel compared to a liquid bottle.
Can I share my Beautyblender if I clean it right after?
It is never a good idea to share sponges because they hold onto deep-seated bacteria and skin cells. Even a deep clean may not remove everything, risking the spread of skin infections.